3drenderer.com |
Equipment
I prefer to make my own equipment wherever possible. While this may be cheaper in terms of material costs, it can take a lot of time. My antics are often a great source of amusement at our club, where I am sure most of our members think I am stark-raving bonkers (and they are probably quite right). This page documents my main attempts...
Please click on the pictures to see larger versions (WARNING: around 150 - 200Kb).
Index
- Bows
- First attempt
- First failed yew attempt
- Two broom handle attempts
- Experiments with bamboo
- Willow, not a recommended bow wood
- B&Q hickory pickaxe handle
- Another attempt with ash
- Second failed yew attempt
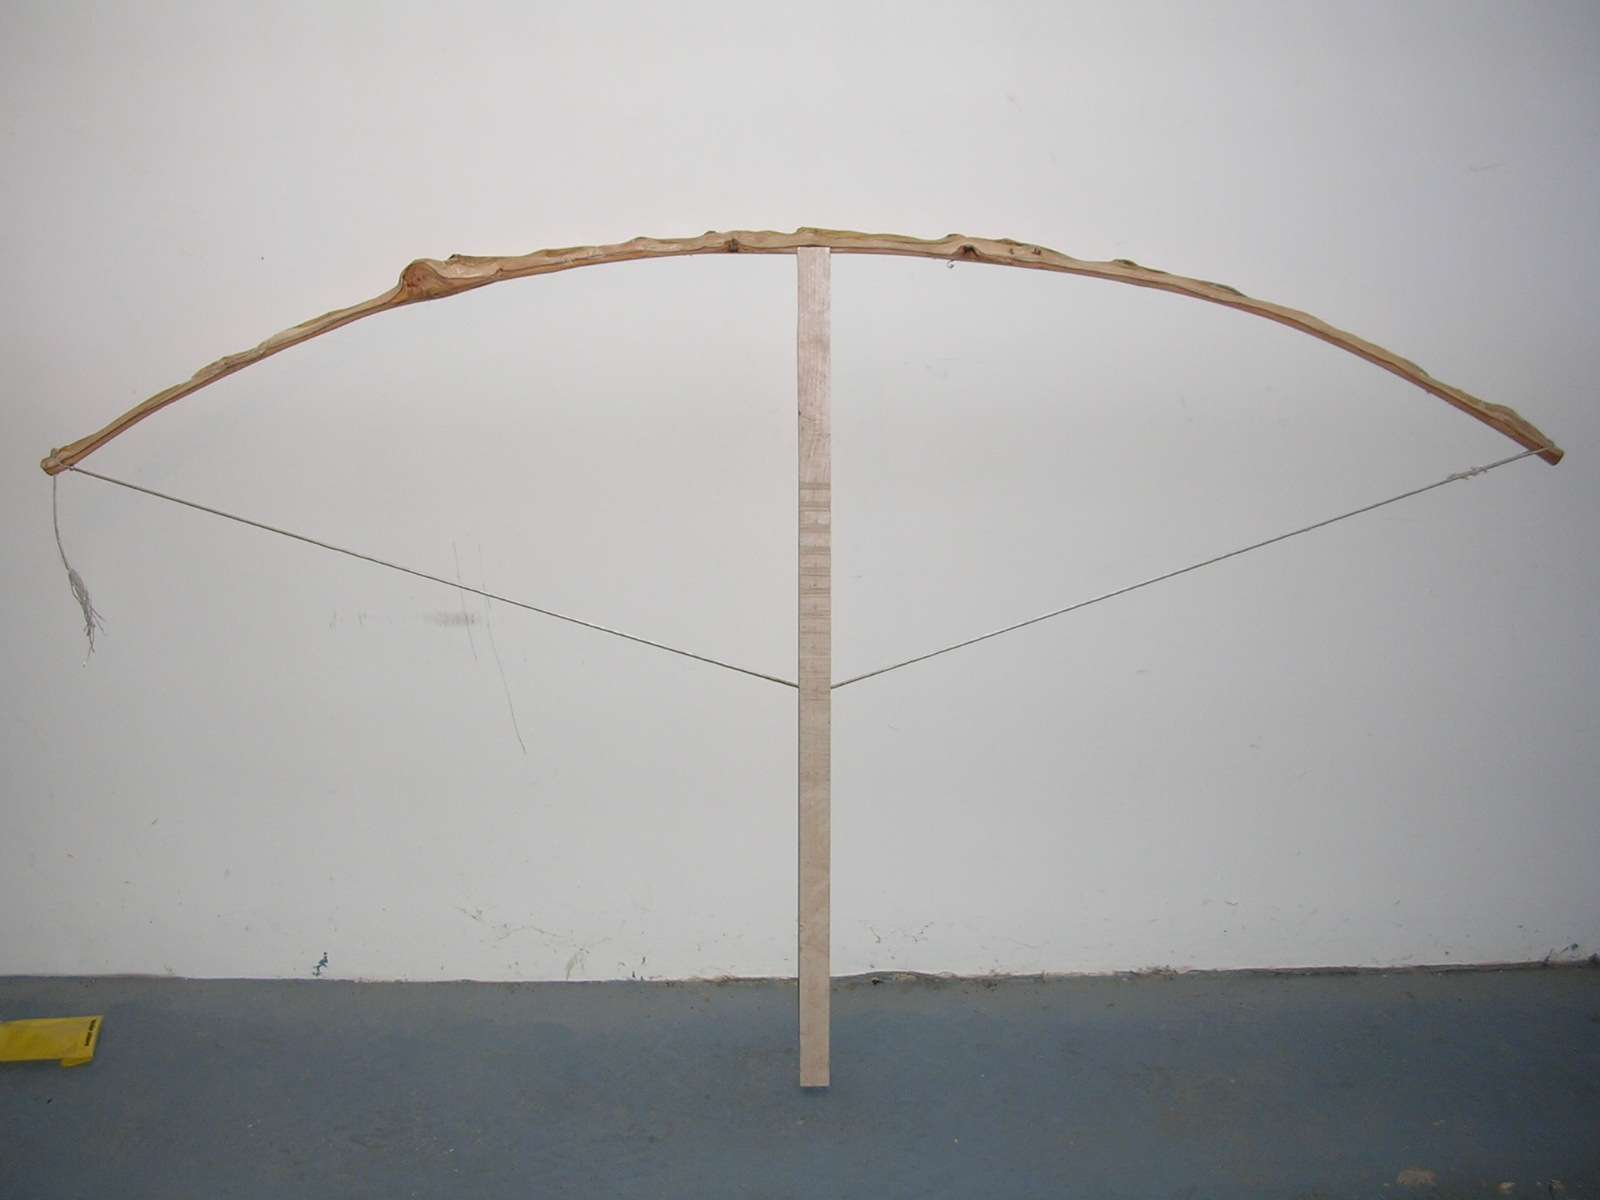
- Wiggly ash character bow
- A slightly recurved B&Q pickaxe handle
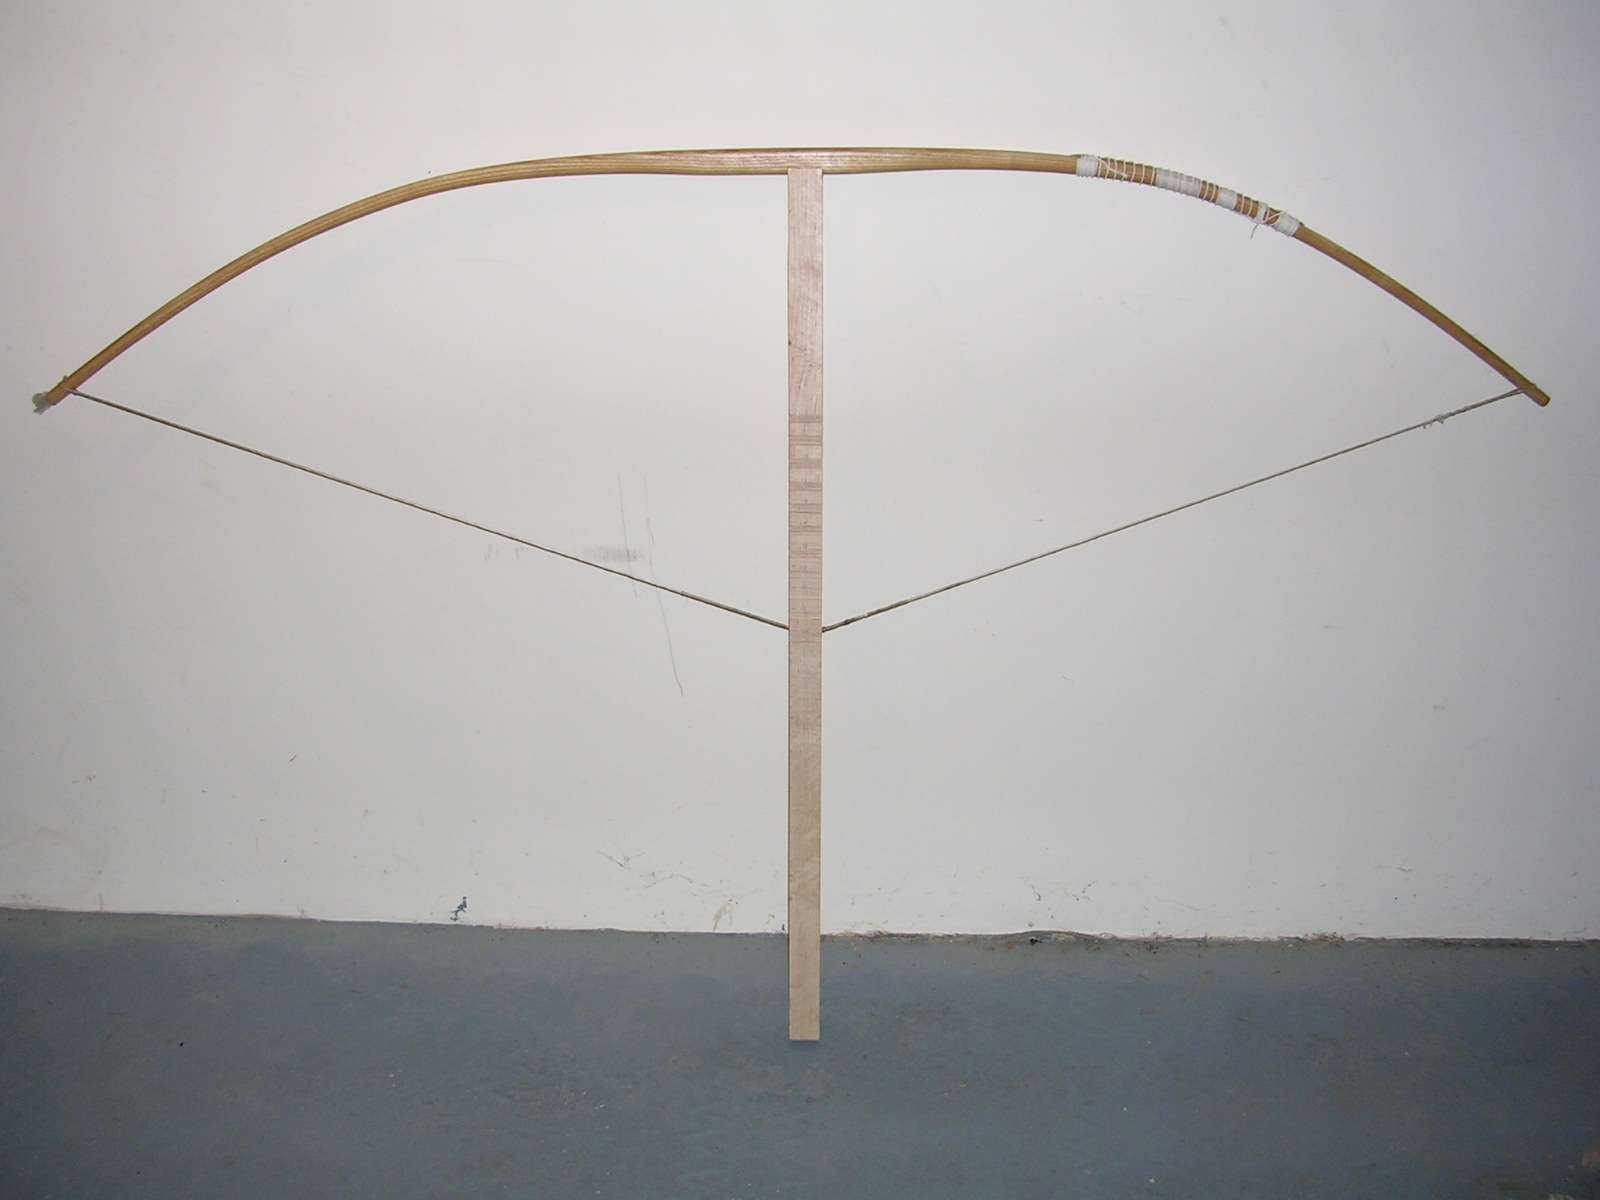
- An ash low-poundage warbow
- Yew logs...
- A pickaxe handle flatbow
- Ash broom handle
- More ash
- Yet more ash
- Laminated bows
- Arrows
Bows

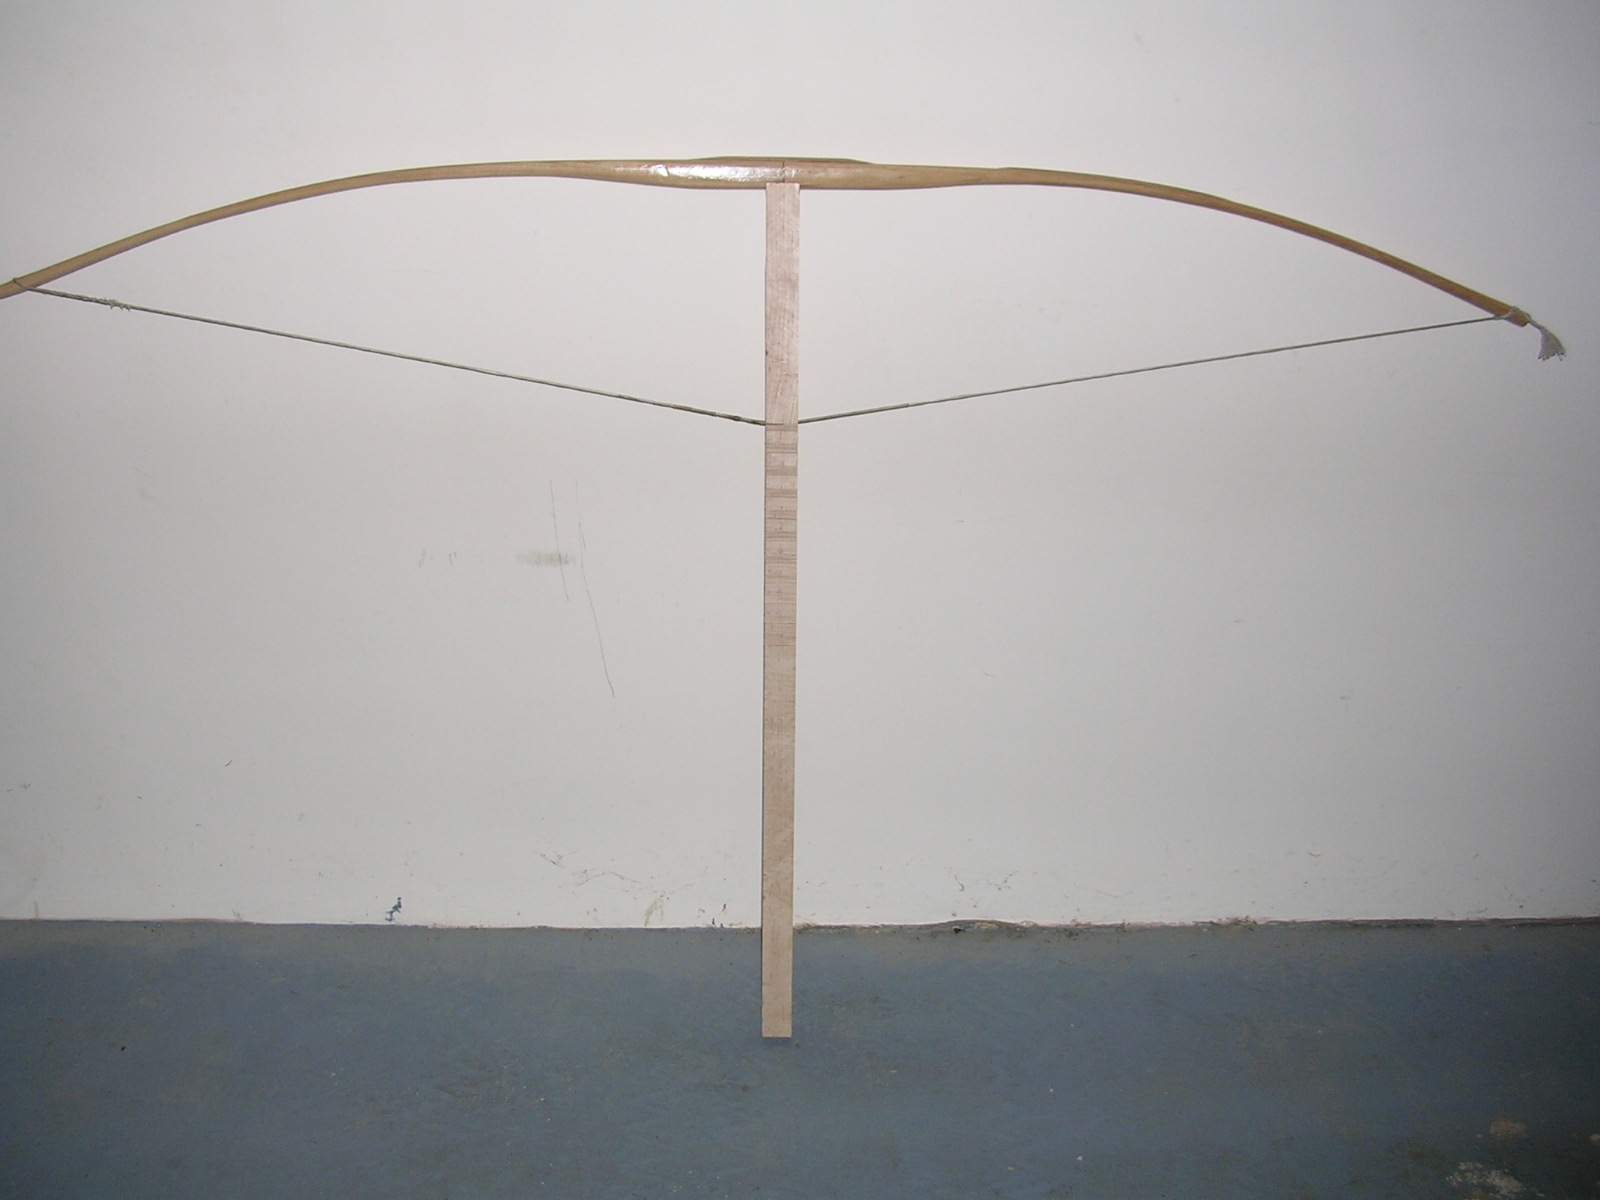
A 45lb bow, made from a piece of ash. This was my first attempt, and I got the measurements completely wrong.
The thing started off extremely wide at the handle, and far too narrow at the tips.
The result was that during a test bend, one of the ends took a nasty set.
I then abandoned the attempt and bought a 35lb Bickerstaff re-enactment longbow.
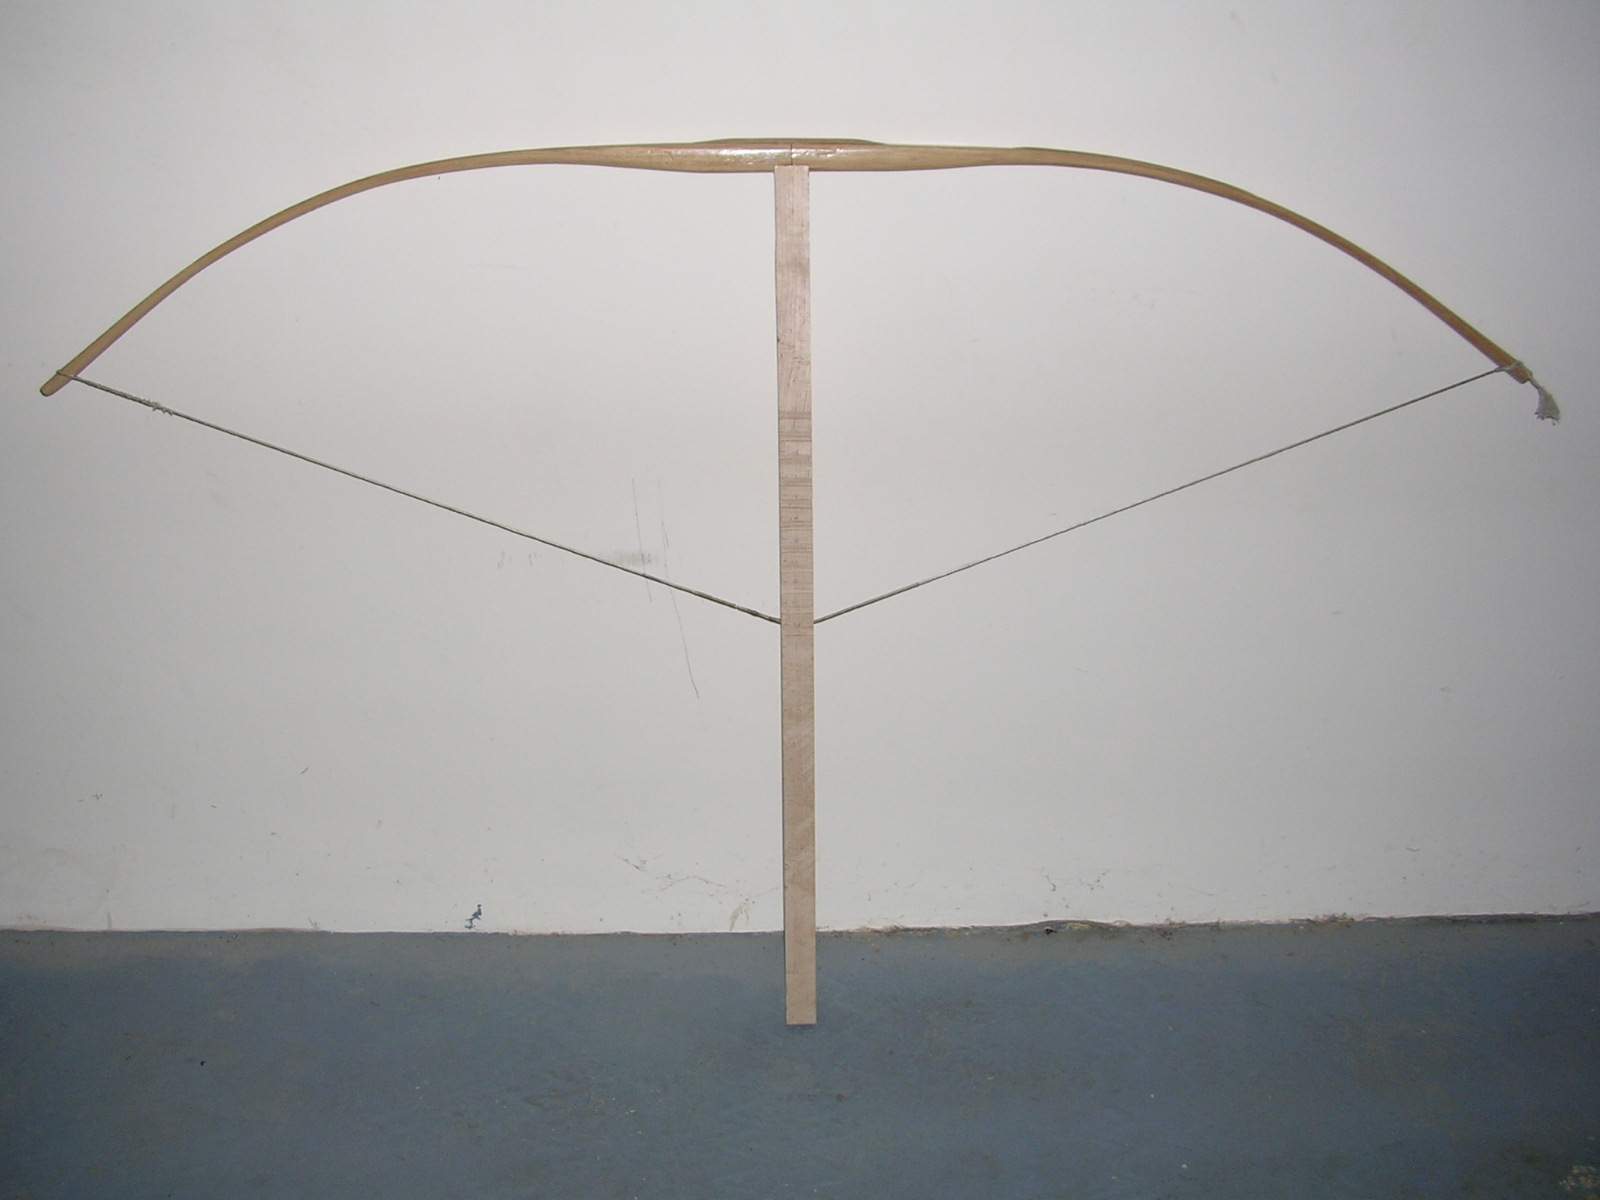
The following year, I decided to re-examine the stave, to see if I could salvage it.
After massively reducing the width of the centre section, it actually started to look a little more healthy, and after a nerve-racking week I had a new, working bow of my own making!
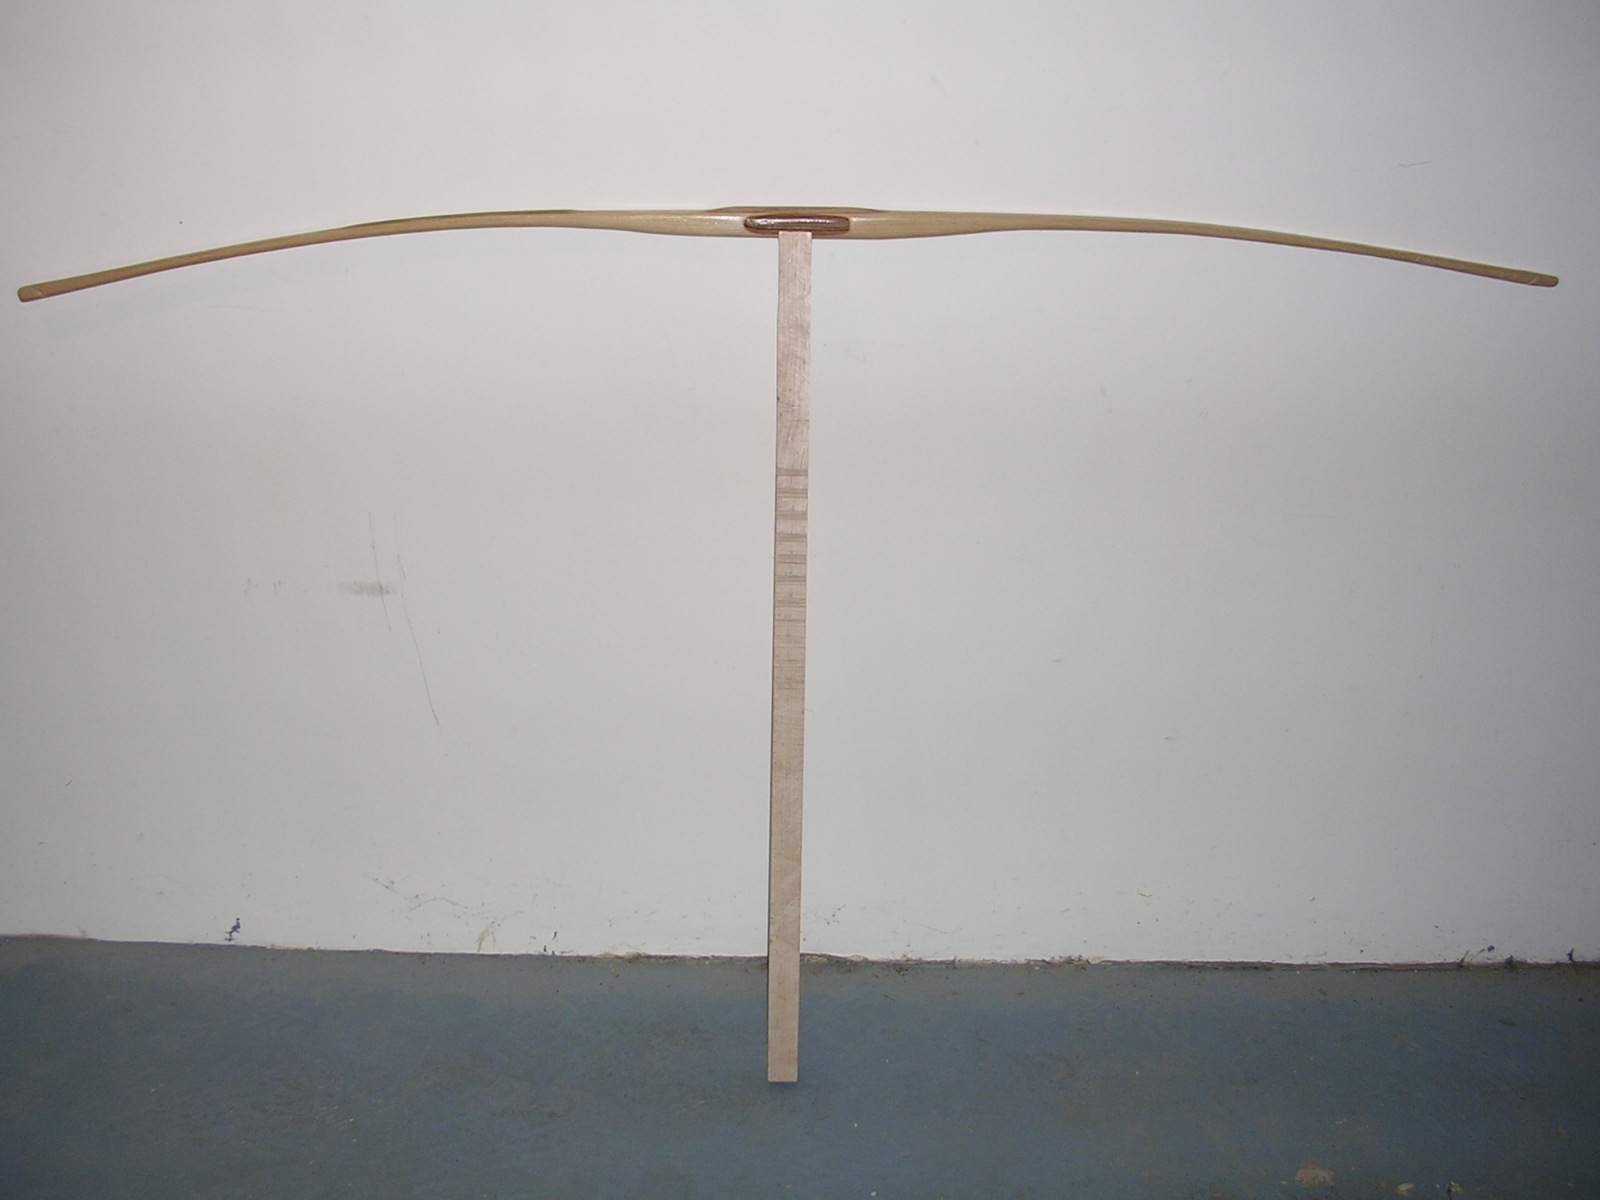
The bow was difficult to shoot, with the relatively short length affecting stability, and it had a huge hand-shock. But then, I'm not very good anyway.
About a year or so later, I realised that the tip had started getting 'more kinked', and that compression fractures had begun on the belly.
The bow was retired at this point, since I had no particular desire to watch it explode in my hand at full draw.
A failed attempt at working with yew. I managed to get hold of a yew log, and (being unaware that one is supposed to split logs) it took me about eight hours to saw a piece off lengthways with a ripsaw. Not being too sure what I was doing at the time, it broke quite quickly. I wasn't particularly surprised, since the side I had cut off was the most knotted. My thought being that since I was bound to break the first one, I may as well try with the least useful part of the log.
Two attempts with broom handles. For a laugh, I went down to B&Q and bought four broom handles - two cheap pine ones and two of an unknown wood. The main purpose was to practice joints, since they were only 34" long and required splices in the handle. Needless to say, the pine one broke very quickly, but the other one had a good shape before it failed.
Bamboo. Again for amusement value, I bought a set of bamboo canes for about 80p and assembled them into a bow. The draw weight was very light - about 15lbs, but it was enough to hit a (close) target.
Willow. With a willow tree in my back garden, I have an endless supply of this material. Pity it is not a good bow wood! One attempt was a branch about one inch thick, and four feet long. It is fairly deflexed, and is under no tension when strung. However, every shot makes it follow the string a little bit further, and it must be constantly re-strung.
A 40lb bow, made from a B&Q hickory pickaxe handle, cut in half lengthways and spliced in the middle.
The main inspiration for this was from the "Bowyer's Bible", in which it is suggested that such a bow could be made if no better source of timber could be found.
Being the sort of person that I am, I decided it had to be tried.
The longest handle I could find was exactly 36" in length. Since I wanted the finished bow to be 72", I decided to use an insert for the join.
The bow was finished, but with a very unsatisfactory shape - it had a definite hinge in the lower limb.
Aware that it wouldn't last very long, I decided that it would do for the time being.
My reasoning was that a 40lb bow for one month was of more use to me than a 20lb bow for a year.
For fears of the lower limb breaking, I left the bracing height quite low, but despite this, the bow wasn't too bad to shoot.
The day before a major competition, I noticed a small crack in the joint at the handle.
I had certainly not expected this, but with hindsight I should have. There was not nearly enough surface area glued together - which is the key to a strong joint.
That afternoon, I made some hasty repairs, cutting into the joint and gluing a couple of extra pieces of wood in.
I was lucky, and the joint held.
Just a few weeks later, however, I had the bow strung up while I was making new arrows. On the back of the bow, on the lower limb where the hinge was, the fibres had started to lift.
The bow was retired for some time, until one day I decided to attempt repairs.
I glued the lifted fibres back down, and backed part of the limb with bamboo.
The bow at full draw. The handle section is very large, mainly due to my lack of a spoke shave at the time. Although this puts the limbs under more stress, there is very little hand shock.
The bow has rather a lot of string follow.
A 40lb bow, made of ash. In comparison to the last bow, this one was a lot quicker to make - no messing about with fiddly joints!
As seems to be the way with me, again this bow has one limb that looks good, and one that's a bit dodgy.
This time it's the upper limb, and it seems to have a slight unevenness to the bend. Interestingly, the grain is a bit wiggly on this limb, but perfectly straight on the other. I shall have to bear this in mind next time.
The bow did shoot quite well, and it was certainly my best yet.
After being shot in, the shape seemed to even out. The upper limb is not quite as strong as the lower limb, by design, since it is slightly longer.
It had a bit of hand shock, but seemed to send the arrows to the target okay.
Until it broke...
After loosing an arrow one day on the field, there was a nasty noise and a crack appeared in that awkward limb. Again, after a while, I decided to try a repair job.
The extend of the damage is clearly visible on the larger image.
Again, I backed a section of the limb with bamboo, and it appears to be holding up. The tiller looks uneven though, so I shall probably rework it a bit. Let's hope it lasts...
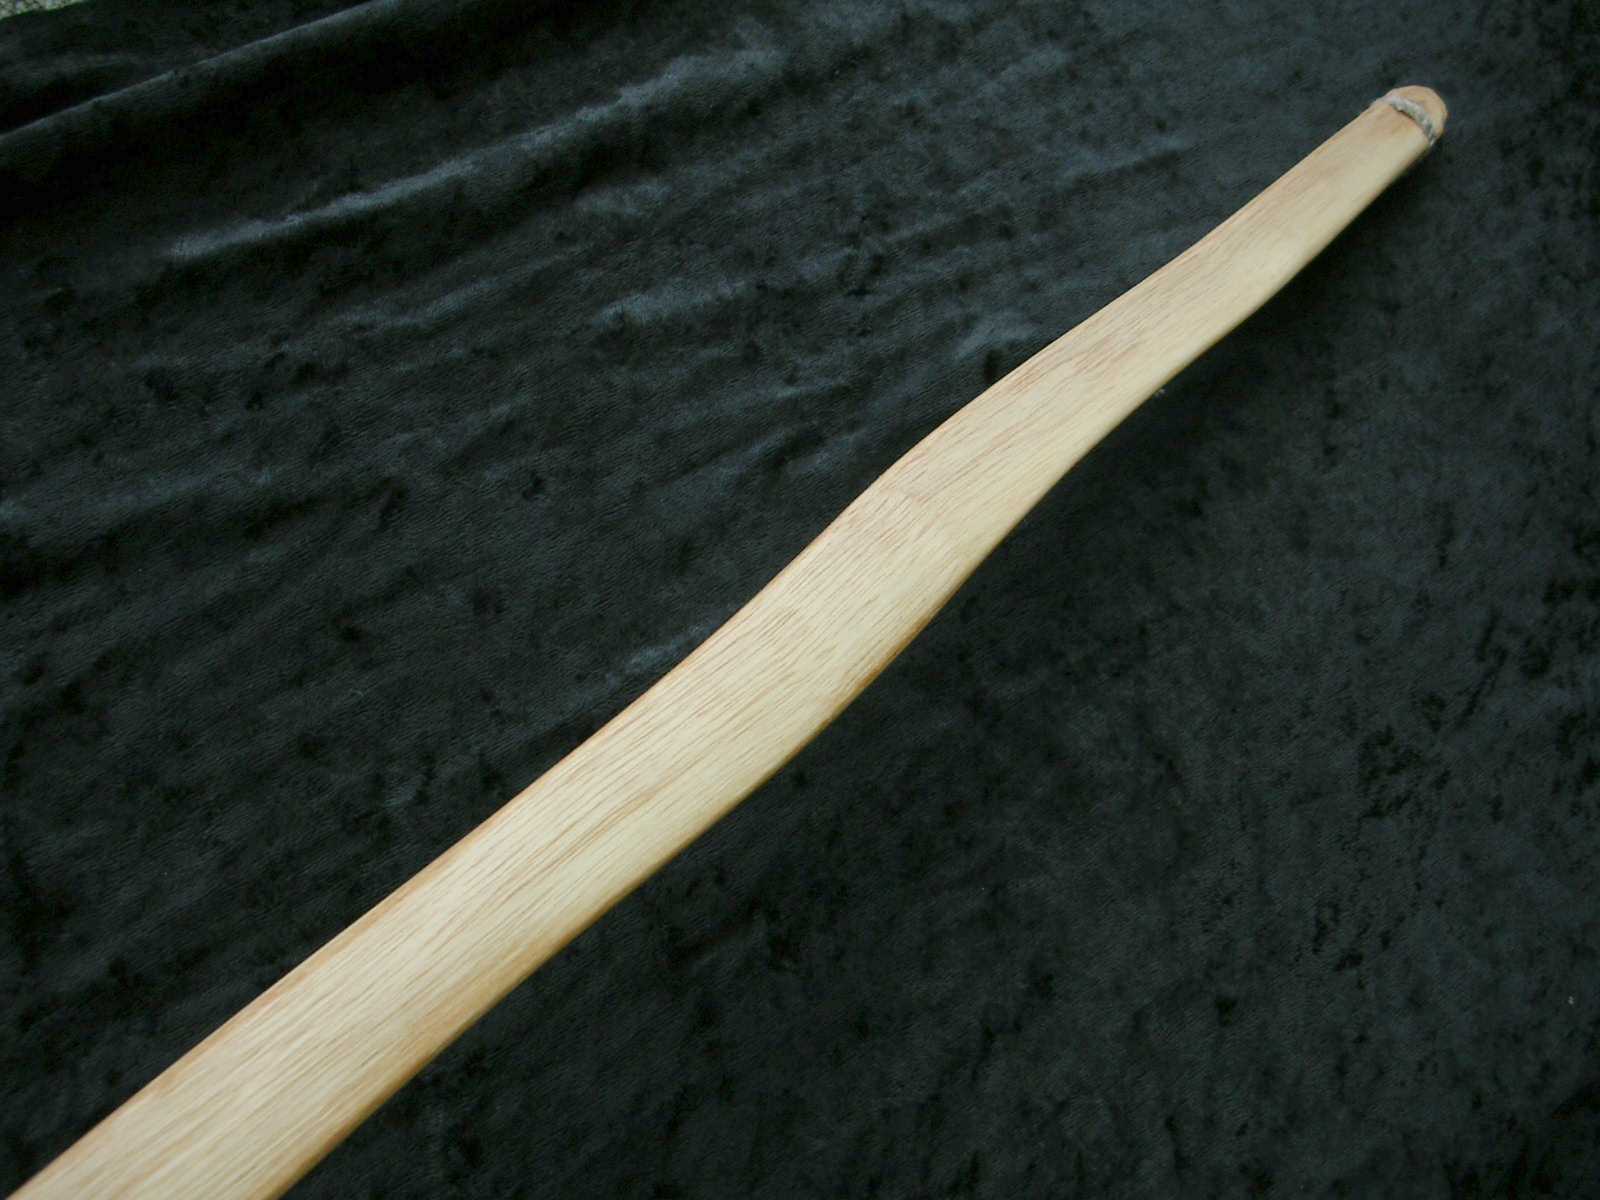
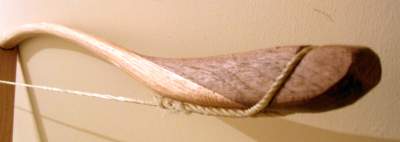
Another attempt with yew. This one got considerably further than my earlier attempt. It was tillered fine to 20" and broke at 21", just after this photograph was taken.
This was actually made from an offcut of my earlier attempt. Since it had 'more knot than straight-bit', I decided to go for a design that bent in the handle, since the handle was one of the few straight sections.
Despite never being complete, foreseeing its eventual demise I was cheeky and shot a couple of arrows with it at half draw.
A wiggly ash attempt. After the previous ash bow failing, most likely due to grain violation, I decided to properly follow the grain.
The back follows a single growth ring for each limb, but this changes at the handle, which should be okay because that doesn't bend.
I have also attempted to follow the grain from side to side, thought the result is far from perfect. Let's hope it's good enough, as the bow is full of character and I would hate to see it break (like all the others...).
Tillering was difficult to say the least. It is quite unnatural to look at a wiggly bow at full draw and not see dangerous hinges or flat, unbending sections. I guess time will tell whether I got it right or not.
This bow is very light, probably at around 30 or 35lbs draw weight, which won't be of much use for long distance, but more than adequate indoors during the winter.

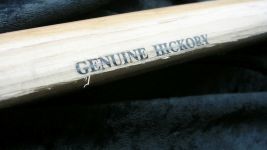
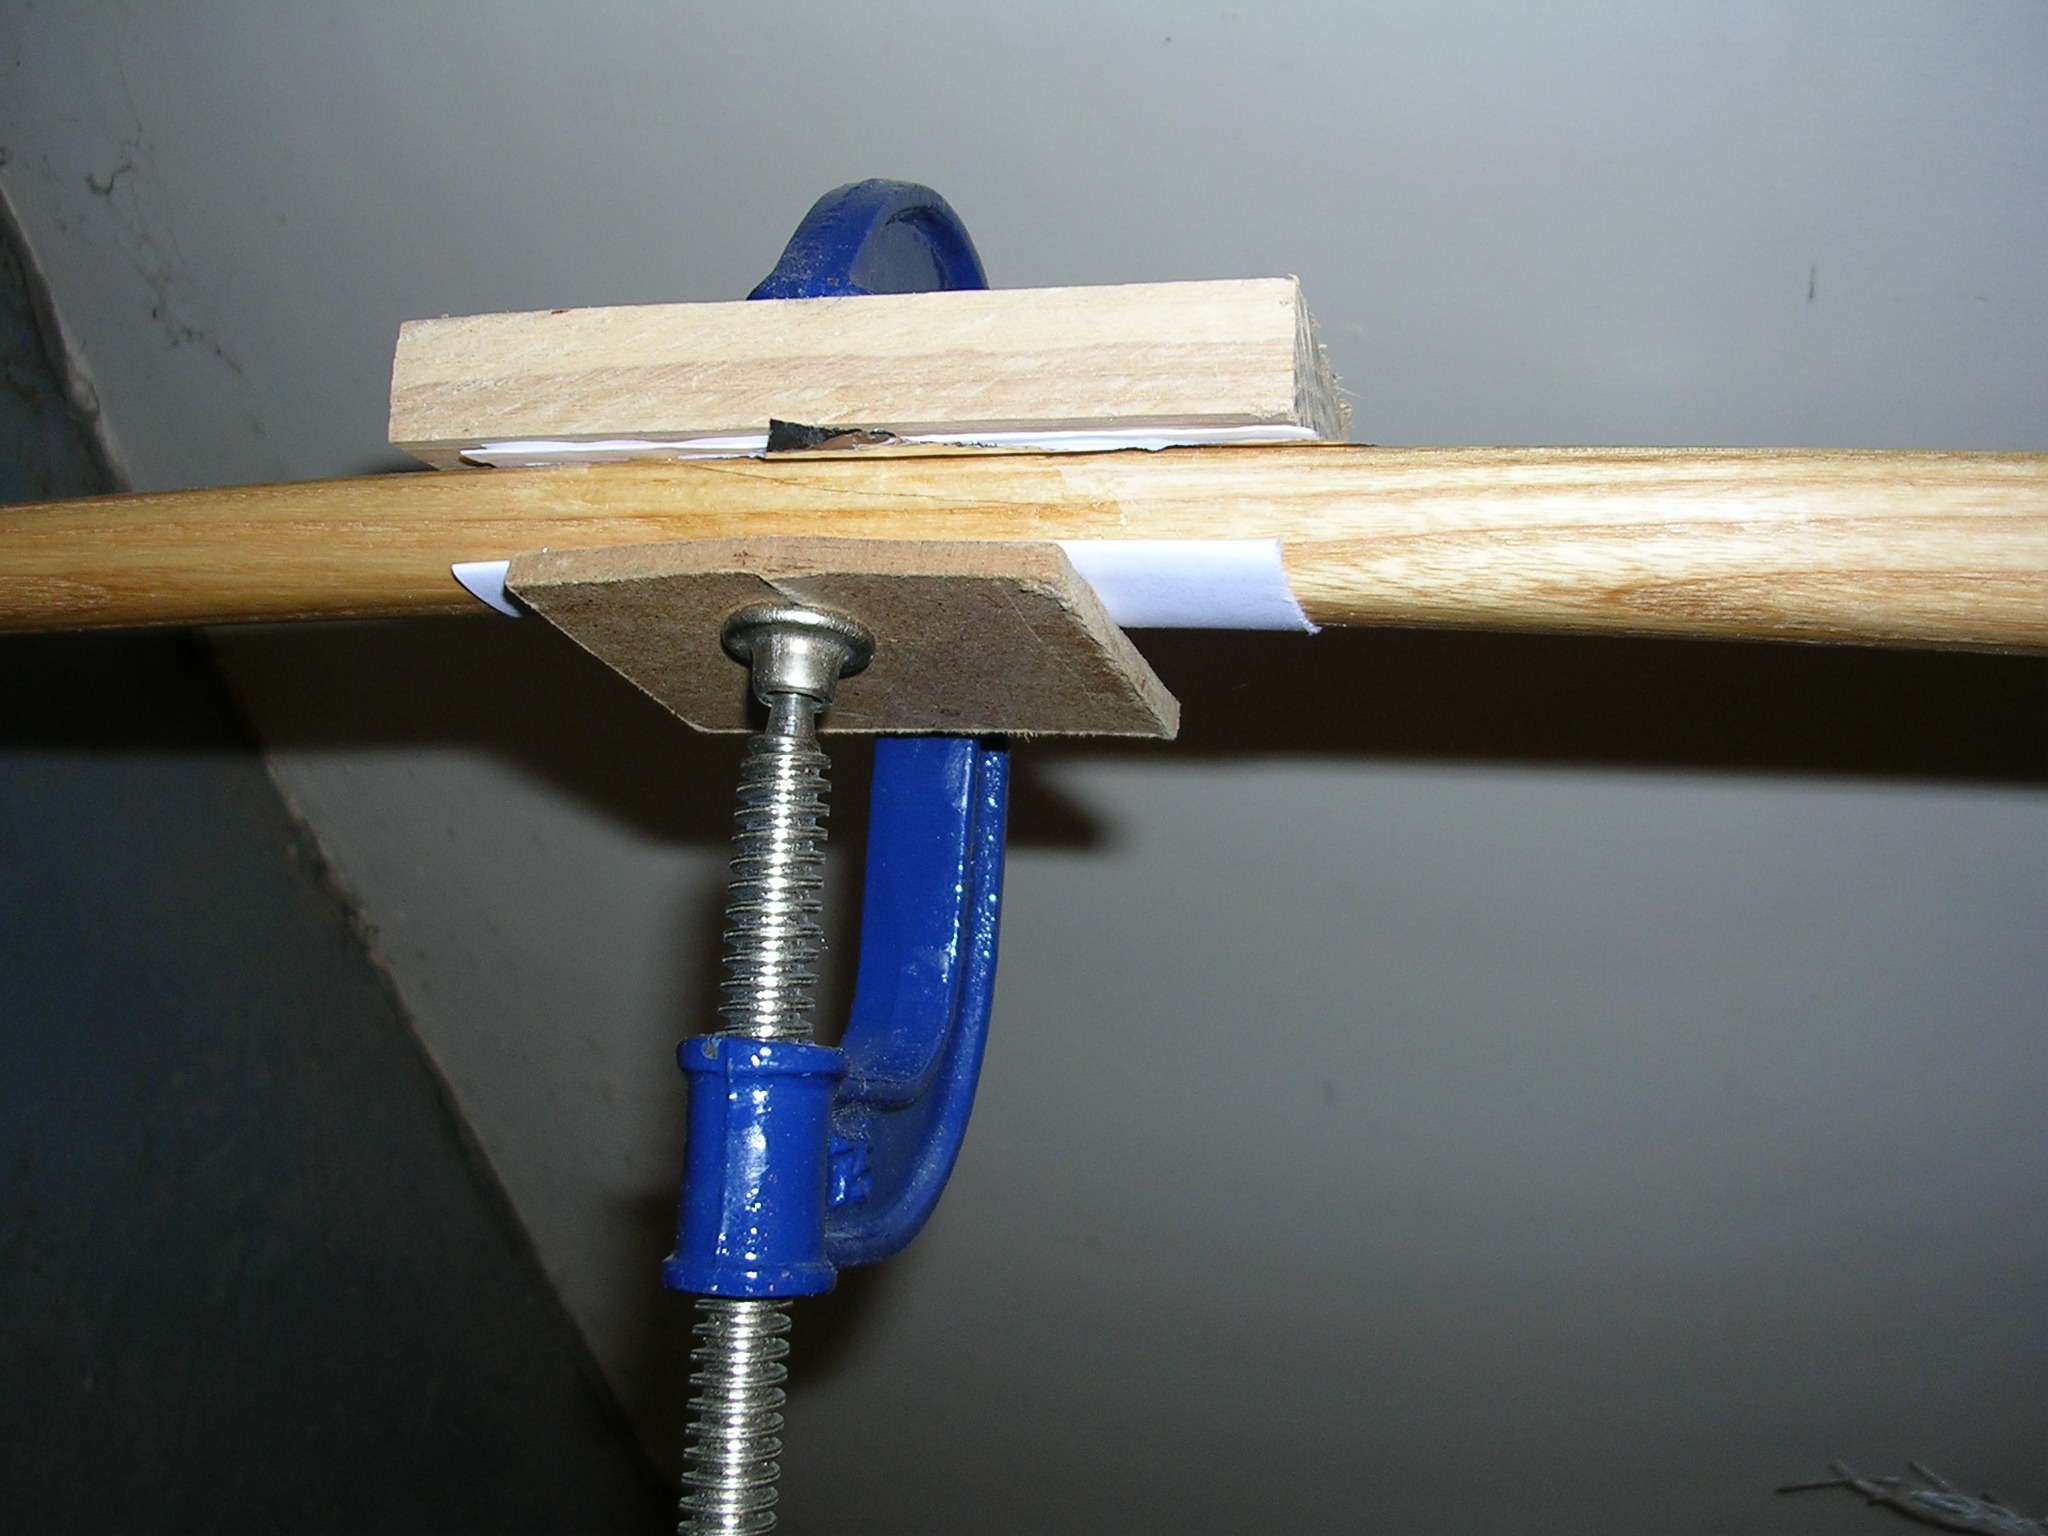
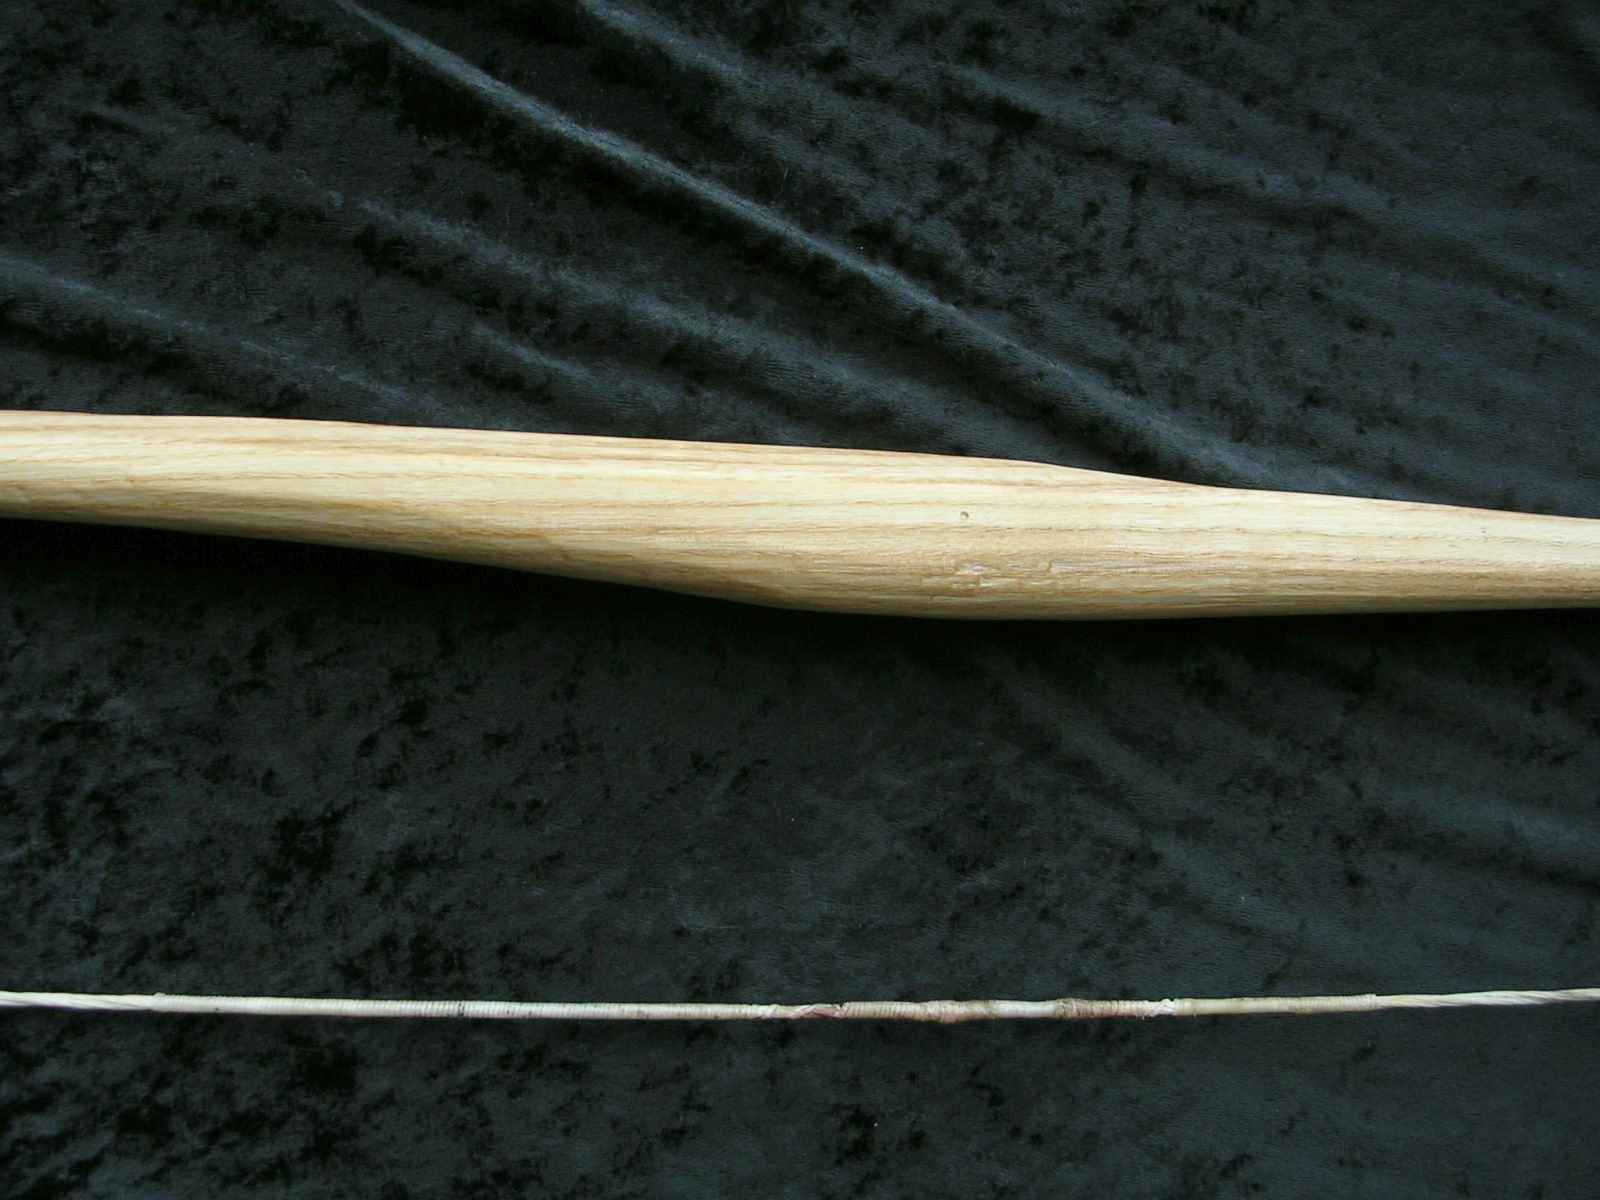
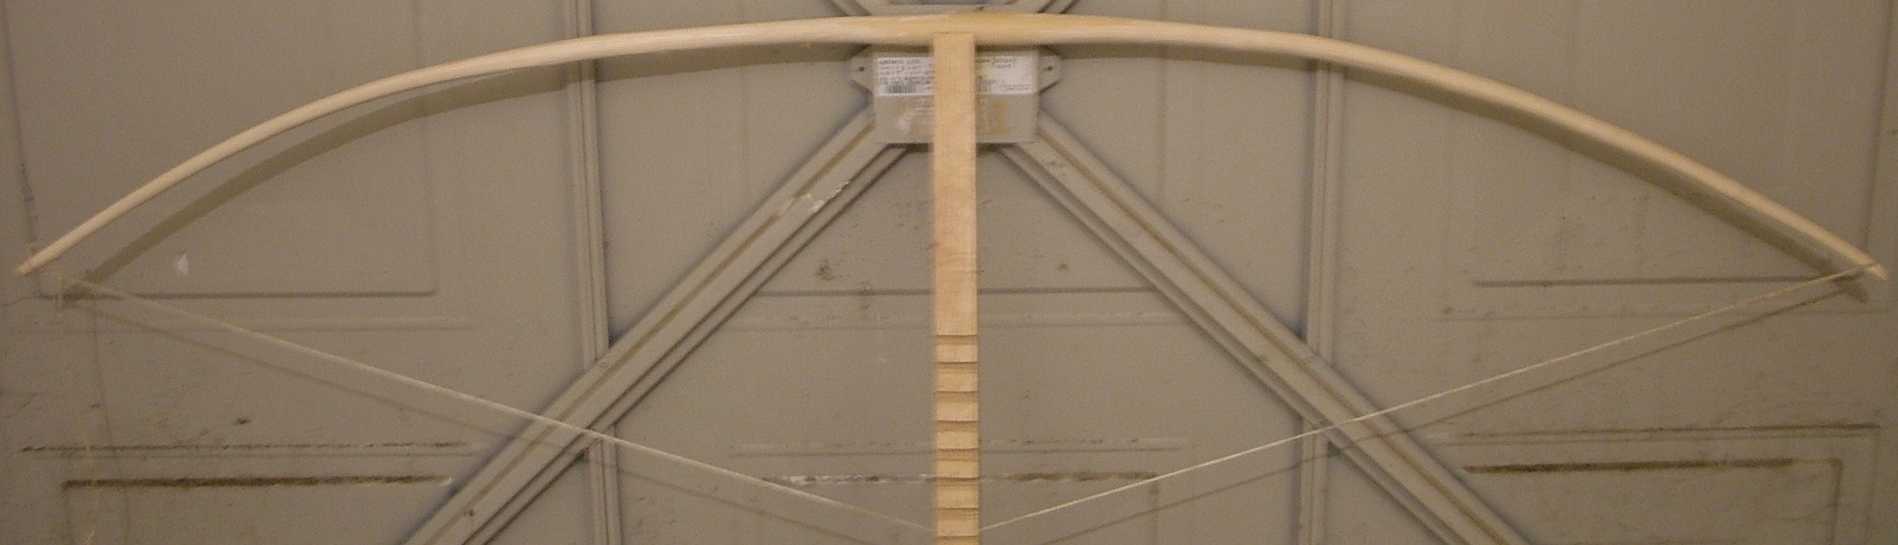
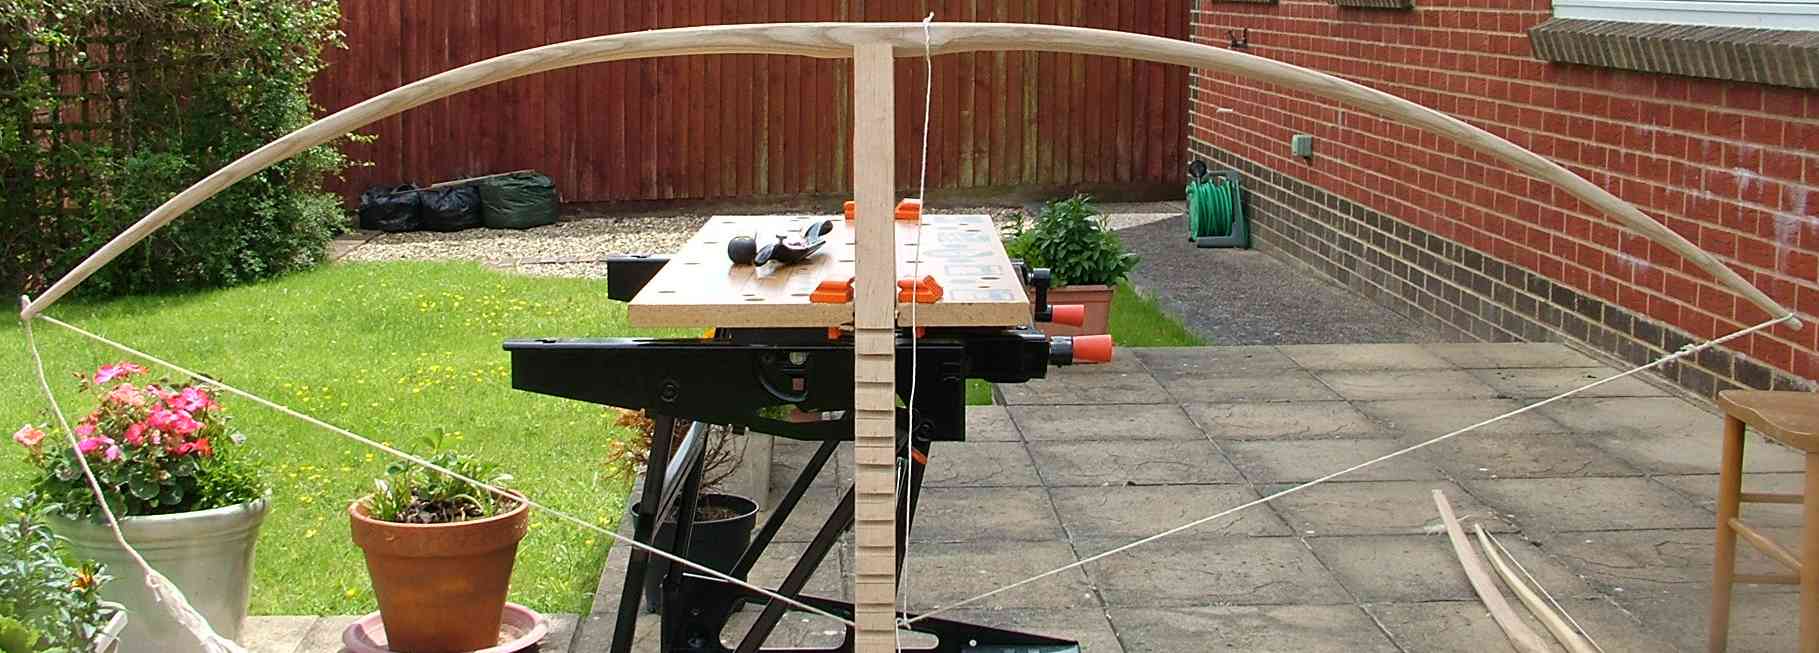
Another B&Q hickory pickaxe handle, this time with a slightly different join. I don't remember why the centre piece ended up rectangular - I suspect it was because I started doing the same join type as before, but changed my mind half way through. This join involves a great deal more surface area than the last one, so it should hold up much better. The one drawback I found with this technique was that the stave was too short. To counter this, I glued a piece of American black walnut to each end, at an angle. The result was a slight recurve, which looks very pleasing to the eye.
As of the first of April 2006, the bow has been tillered to 23" at a relatively low, but shootable, bracing height. I've not taken it any further as my arms are now aching! I estimate that the final draw weight will be somewhere around 45lbs. The trouble is, the more I work with it, the heavier it feels!

Update: this bow is now in full time use! It's probably slightly more than 45lbs, though I haven't measured it yet. Although it can chuck arrows much further than my other full-time bow, the wiggly ash one, it's much less forgiving to shoot.
Update: this bow has developed a fault, which may be a compression fracture. I am no longer using it, pending further investigation.
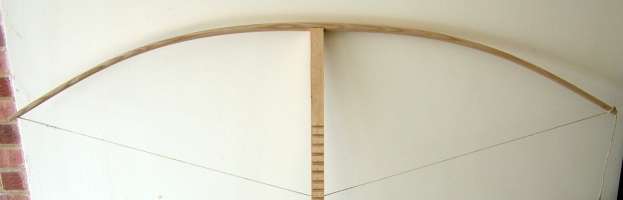
An ash bow that bends in the handle, making it similar to the original war-bows. This design leads to higher than usual hand-shock but, because more wood is bending, it puts less stress on the bow. I wasn't too sure of the quality of the wood, so I thought this design would be more likely to yield a working bow. It is around 35lbs at my draw length, and it can throw the white fletched arrows just shy of 100yds, and the grey-fletched clout arrows at around 130yds.
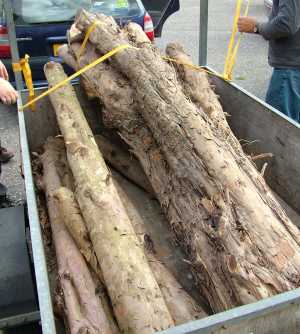
Yew can be quite difficult to obtain, so when a friend and I had the opportunity to acquire several logs, we jumped at the chance. As it happened, my friend Terry has a good sized trailer, so together with his partner and her father, we all set off. Unfortunately, we couldn't lift the largest log, and it took five of us and a lot of grunting to leaver it into the trailer.
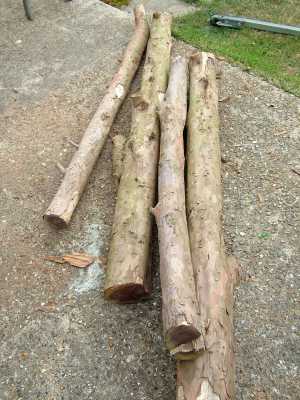
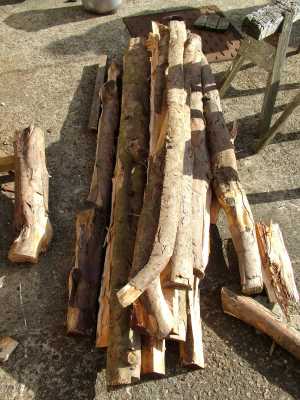
Once we got them back, we had to split the logs. Having never split logs before, I was unsure of how they would come out. In general, once we decided where to start, they split very cleanly and easily. The exceptions were when we encountered knots, at which point the grain tends to do strange things, and splitting gets quite tricky.
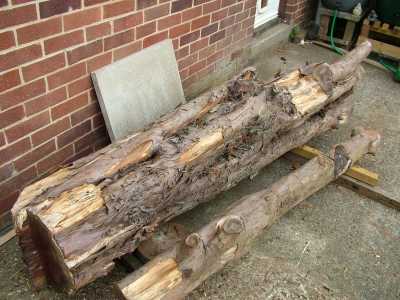
The large log, however, is an entirely different story. So far, as of 27th August '06, we have had one session, and spent two or three hours burying axes and wedges into it. (Okay, Terry did most of the heavy work as he has more grunt than me). All we got out was a small piece, although it was nearly the size of one of the smaller logs. We are a little unsure of how to proceed, since it is clearly a lot of effort for what will be very little gain, as most of the wood is too knotted and twisted to turn into bows.
A horrible flatbow made from another B&Q hickory pickaxe handle. I just had to have a try at a proper flatbow, though I am far from pleased with the results. The bow weighs around 50lbs and, being quite short, stacks extremely badly. The tiller will need to be readjusted when I can be bothered. Pictures to follow some time..
28/05/07 An ash broom handle. A single growth ring is more-or-less followed on the back, hence the slight wiggles. This bow measures 39 pounds.
03/06/07 Another ash bow. Completed from scratch this weekend. There are a few flaws in the limbs, which are left slightly stiffer and hence give it an unevenly shaped curve in places. With the obvious exception of the stiff handle, the general shape was inspired by the Mary Rose replica bows by Roy King, as described in Robert Hardy's 'Longbow' book (pictures on page 212).
18/08/07 Yet another ash bow. The slightly strange shape is due to some knots in the limbs, though it's still a good working bow. Weights around 40lbs.
 Laminated Bows Page
Arrows
As any archer will attest to, arrows can be expensive. Longbow arrows are generally cheaper, but archers such as myself seem to get through an awful lot of them!

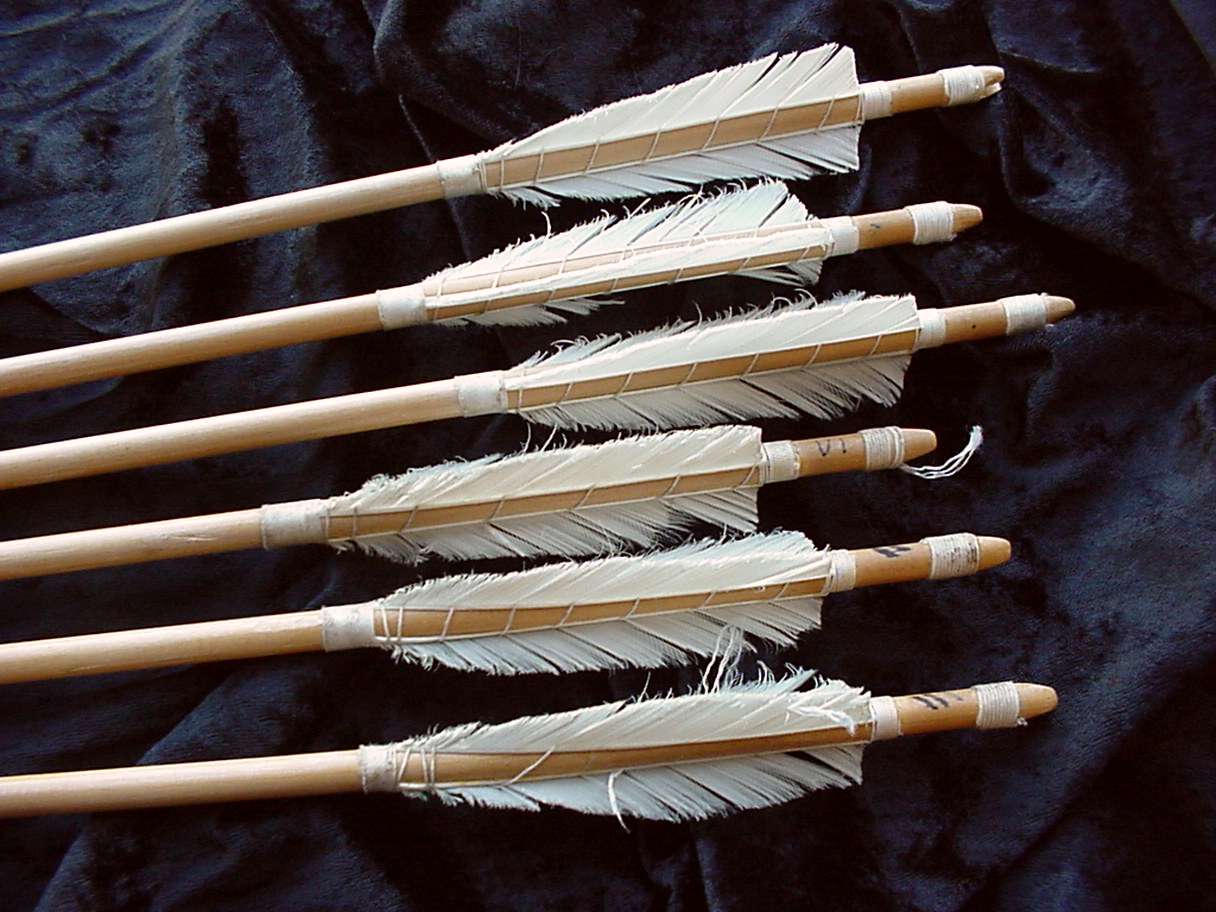
White fletched, brass point. These were my first attempt at arrows.
The nocks are cut into the shaft, and bound. The only problem I have had with this technique is the occasional one that gets cut too wide and ends up too loose.
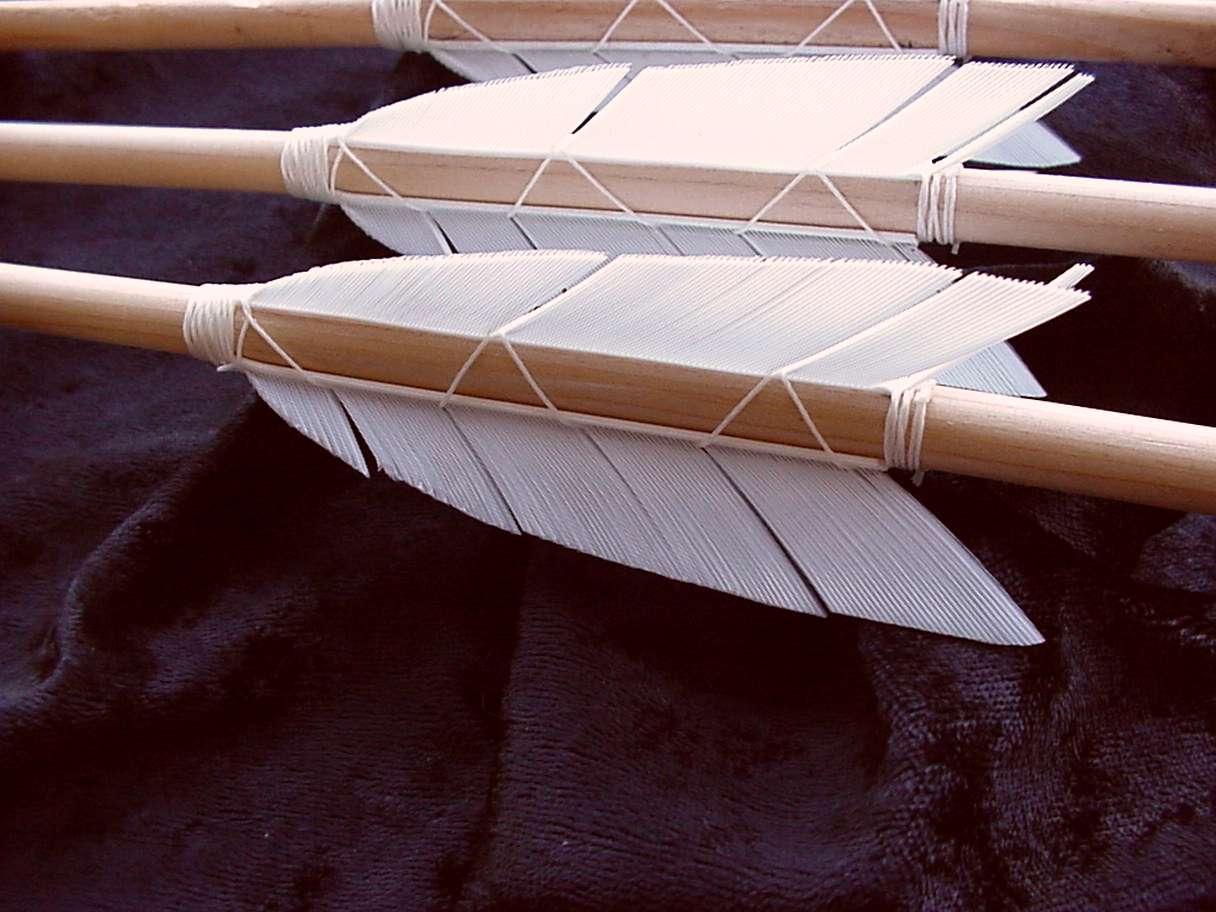
Feathers are 4inch shield type, all in white. Once you get used to it, you don't need a different colour for the cock feather. I first use a little glue, then bind the feathers with thread.
I have never lost an entire feather with this, though through the years they have been torn to shreds, and one is nearly gone.
These are high visibility, and can be easily seen through the air, on the target, and on the ground, while standing at the shooting line.
They are very well used now - I originally made 12, but now have only 6, all of different lengths due to the number of times they have been broken.
As a set, they are not at all easy to shoot, as each arrow is now different, and they will all land in different places using the same point of aim.
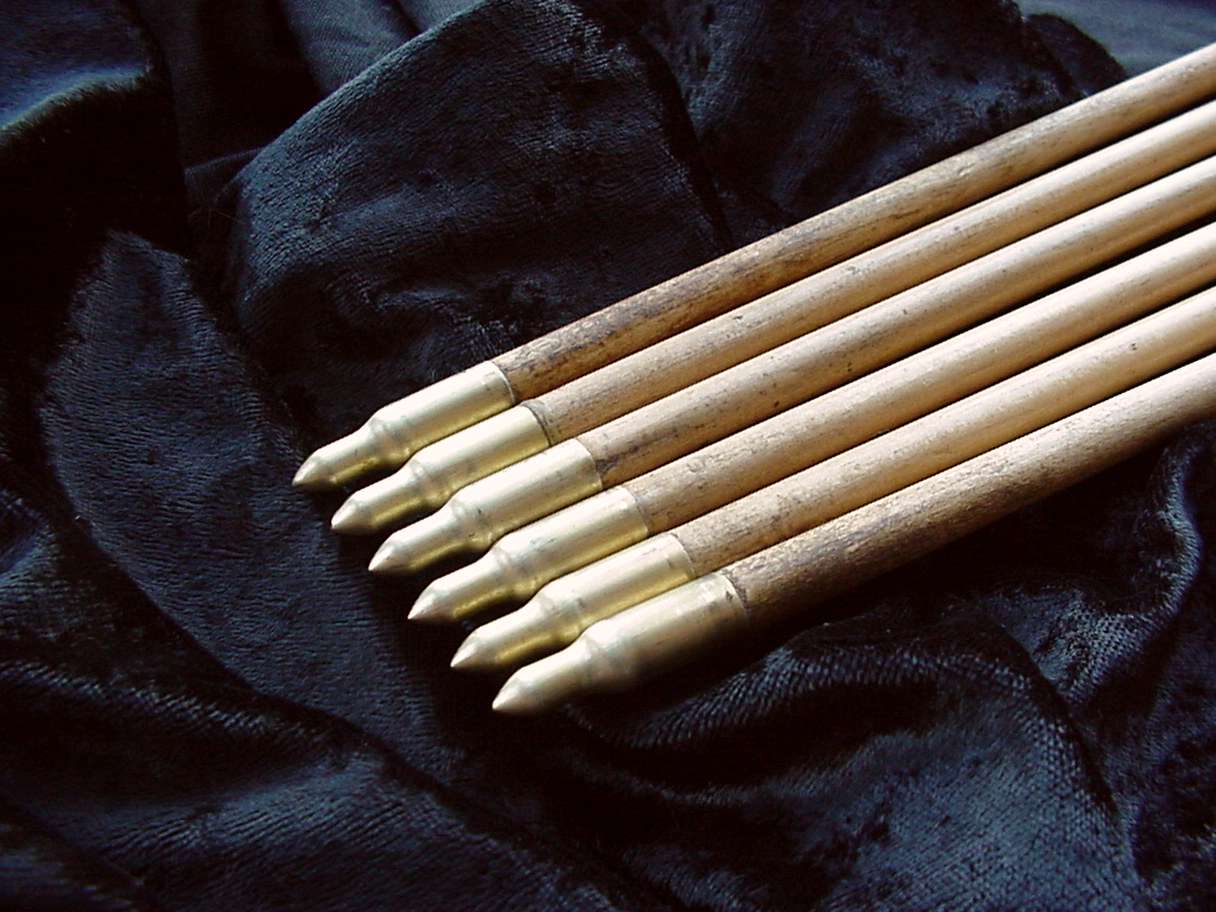

Grey fletched, brass point, flight arrows. These are my flight arrows. They are slightly shorter, have lighter points, and smaller fletchings in comparison to the last ones.
I have not bound the feathers, and hence keep losing them!
The white ones have a maximum range of just over 80yards (unless it rains), but these can reach about 130yards, though of course, these distances do vary depending on the bow used.
I originally had 8 of these, but managed to shoot one into the back of another during an indoor session, so I am now down to 6.
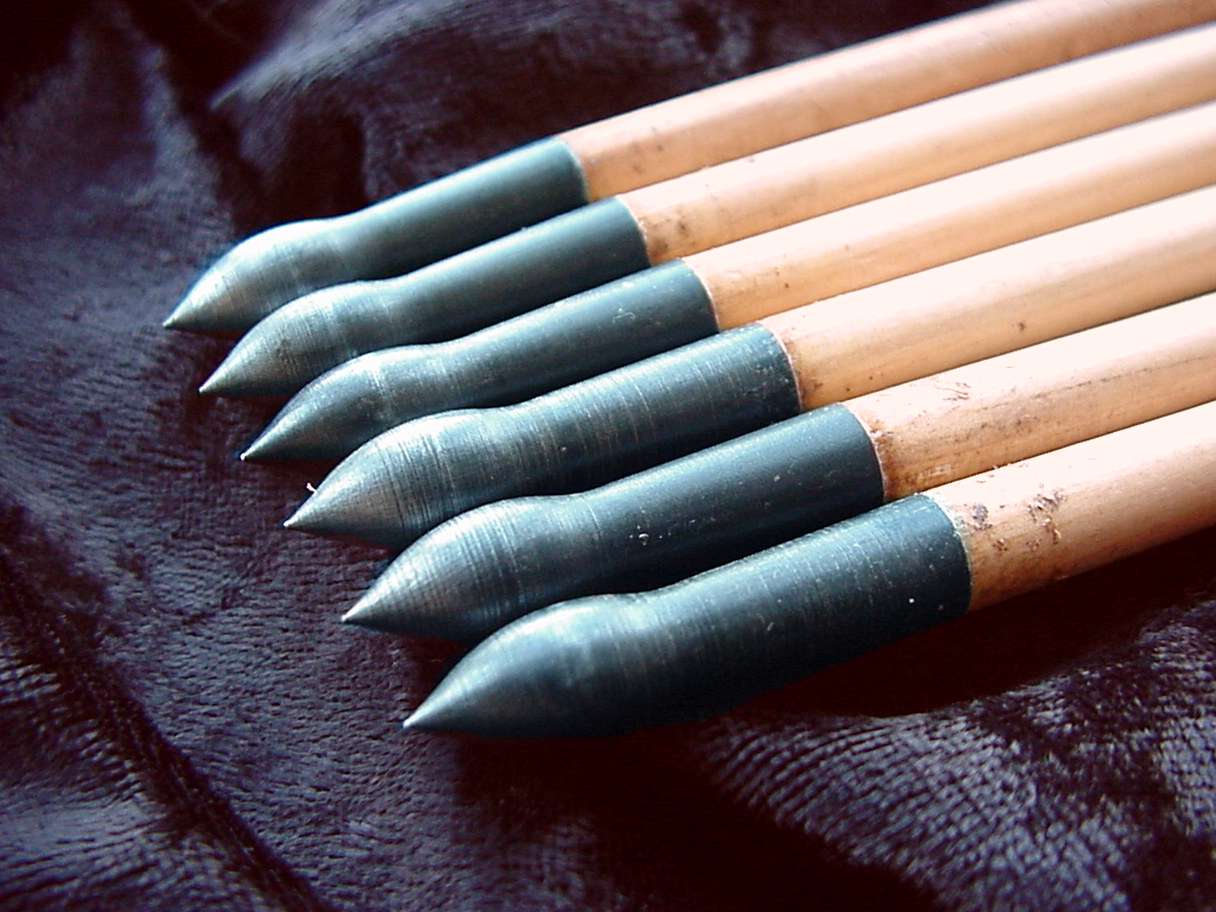

Brand new, white fletched, bodkin point. These are my new replacements for the general purpose white ones. (New as of August, 2005).
I have chosen a slightly different feather design for this, just for aesthetics.
I have also fletched and bound them all identically - the old ones were never the same when they were new.
One is already in repairs, and another broken - it flew apart on release, half the arrow going to the left, half to the right. It's times like that when I'm grateful for my kevlar armguard!
1st April '06: There is an interesting design flaw with the binding on these arrows. It turns out that as the arrow passes the bow, it wears away the topmost thread. Thus, all the arrows have started to come unwound! Thankfully, the knots at each end seem to be holding them in place, until such time as I can repair them.
On the drawing board... I only made six of the new white ones, but have another six shafts on standby. With these, I want to try a hardwood footing. The most common break I experience with arrows is just behind the point. A footing is basically just a piece of hardwood at the tip, with the idea of providing enough strength to prevent this type of failure.